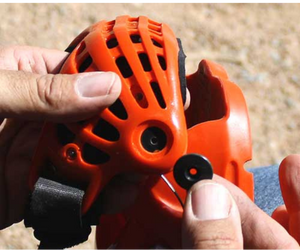
How to Change a Cable

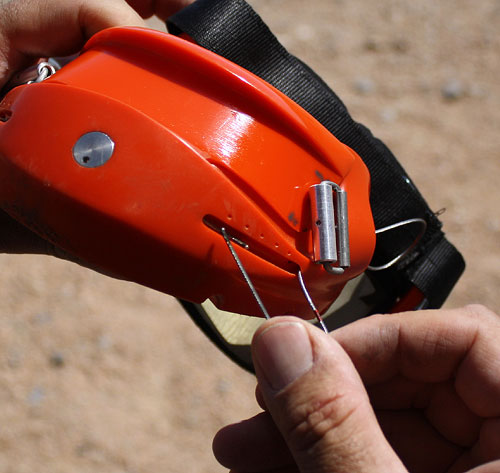
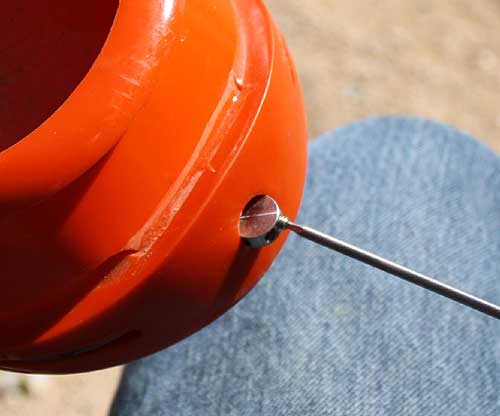
The CLASSIC model is shown in the photos, but the principles of changing the cables are the same between boot models.

The VIPER model is used as a demonstration boot in the Cable Changing VIDEO.

1

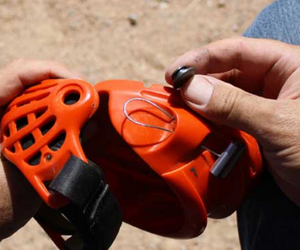
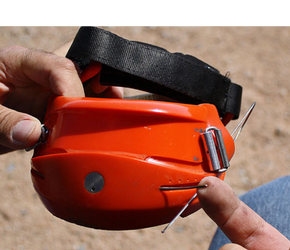
Begin by removing the Phillips head screw from the Pulley Button.

Changing the cable on the Renegade Hoof Boot Step 1
2

If the Pulley Button rotates, grab it from both sides with pliers.

Changing the cable on the Renegade Hoof Boot Step 2
3

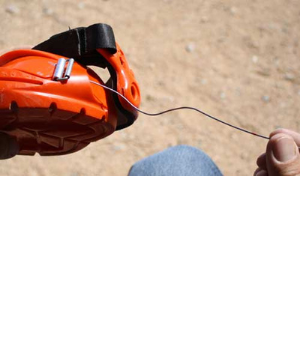
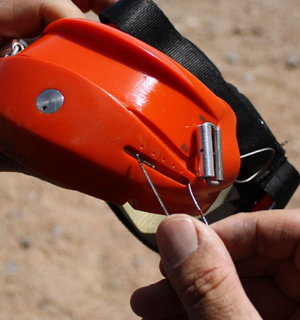
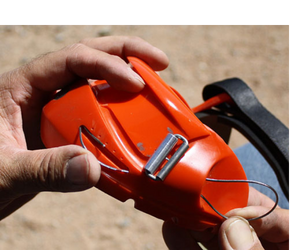
The cable loop is now free from the Heel Captivator. If you are changing two cables, repeat for the opposite side.

Changing the cable on the Renegade Hoof Boot Step 3
4

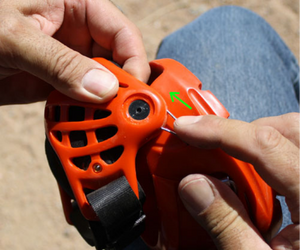
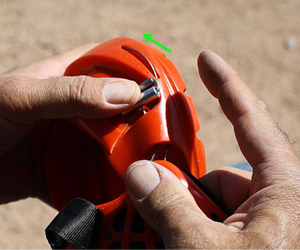
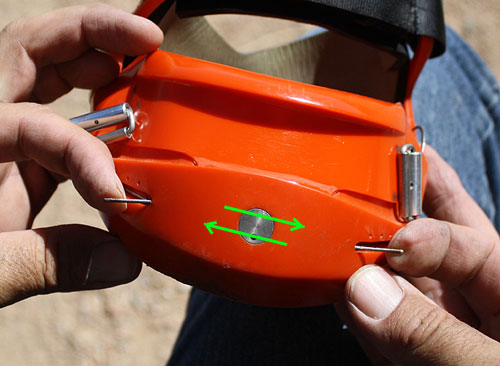
Push both cables in the direction of the arrow. They won’t move far but this will provide clearance so the inner piece of the pulley button can be free.

Changing the cable on the Renegade Hoof Boot Step 4
5

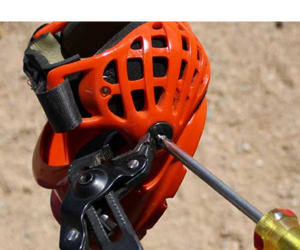
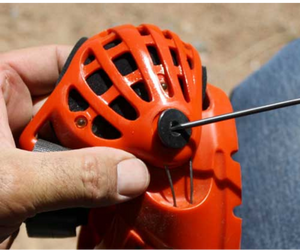
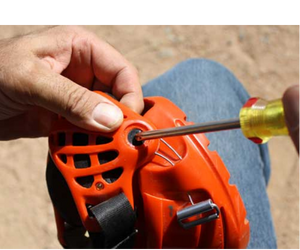
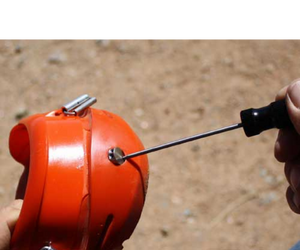
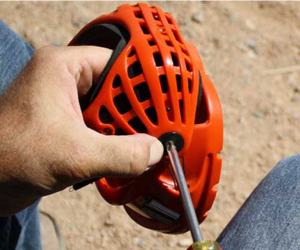
With your screwdriver, push the inner half of the Pulley Button inward and out of it’s hole. Be careful not to poke yourself with the tool.

Changing the cable on the Renegade Hoof Boot Step 5
6

With your screwdriver, push the inner half of the Pulley Button inward and out of it’s hole. Be careful not to poke yourself with the tool.

Changing the cable on the Renegade Hoof Boot Step 6
7

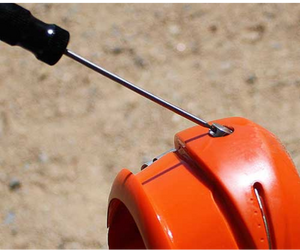
Now insert your 1/16″ Hex Wrench (Pro Wrench shown here. L-Hex wrench supplied in your accessory pack) into the small hole on the face of the cable clamp and rotate it outward.

Changing the cable on the Renegade Hoof Boot Step 7
8

Insert your Hex Wrench into one of the set screws and rotate the clamp out further into the position shown below.

Changing the cable on the Renegade Hoof Boot Step 8
9

Now using your 1/16″ L-style Hex Wrench (Provided in your boot accessory pack) or a ‘Pro-Wrench’ (available on the store) remove the set screws. If you have difficulty removing the screws, try using WD-40 or similar thread lube. Take note that the Pro Wrench is precision ground from very hard drill rod steel and can remove tight screws when the L-Wrench cannot.

Changing the cable on the Renegade Hoof Boot Step 9
10

Now rotate the Cable Clamp all the way back flush into it’s hole. Be careful now because any cables you want to stay in place can easily pull out.
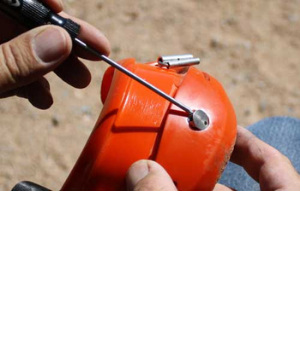
Cable Change on the Renegade Hoof Boot
11

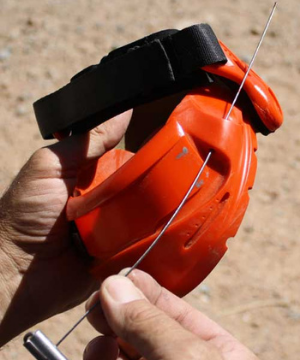
Remove the damaged cable from the cable Guide-Ways.

Changing the cable on the Renegade Hoof Boot Step 11
12

Install a new cable into the top Guide-Way hole first.

Changing the cable on the Renegade Hoof Boot Step 12

The L-Hex wrench we supply (in the accessory pack) is of the very finest quality available and made in the USA but by the very nature of how these types of wrenches are manufactured, they do not work quite as well as the Pro Wrench. The Pro Wrench is a highly recommended accessory tool and is available through our online store. If you are having trouble with stripped set screw sockets and don’t have a Pro Wrench, you might find a “Pro Wrench” style tool at your local hobby shop. I have never found this type of tool at a hardware store. Be sure to ask for a precision ground 1/16″ hex wrench and be sure the tip is ground from drill blank steel. All the wrenches of this type I have ever seen have smooth and shiny tip shanks. If the shanks are black in color and hex shaped for it’s entire length, it’s likely they are not ground from drill rod steel. Of course, you can always order a Pro Wrench from our online store.

13

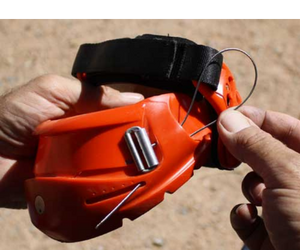
Now insert the cable through the lower Guide-Way hole like this.

Changing the cable on the Renegade Hoof Boot Step 13
!

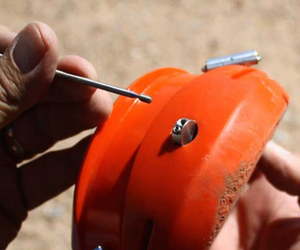
The next step is where most people have trouble. That is, inserting the cable into the Cable-Clamp Tunnel. Understand that the end of the remaining cable is hidden in the tunnel and can block insertion of a new cable. Therefore you must push the remaining cable end further through the Cable-Clamp tunnel and out through the side where the new cable is being installed. This way, you can install the new cable past the end of the remaining cable without the ends butting heads. Shown in the next steps is how you do this.

14

Considering that you still have one cable remaining, go to that side of the boot and push the end of the cable through to the other side until the end pokes out like shown below. You might not get this much cable to come out but if you can see the end of the cable that is good enough.

Changing the cable on the Renegade Hoof Boot Step 14
15

Above you can see the opposing cable.

Changing the cable on the Renegade Hoof Boot Step 15
16

It’s easy now to insert the new cable without the cable ends butting heads inside the tunnel.

Changing the cable on the Renegade Hoof Boot Step 16
17

Push the new cable on through until you can also see the end poke out on it’s opposing side as shown below

Changing the cable on the Renegade Hoof Boot Step 17
18

The Arrows depict what the cables are doing inside the clamp.

Cable Change on the Renegade Hoof Boot
19

Now you can adjust the cables to the appropriate setting by moving the cable until it’s marker dot (shown here in red but the color will vary) until it aligns with the appropriate dot on the boot.

20

Now rotate the cable clamp outward and reinstall the set screws. Be sure to install them carefully so you do not cross the threads. If the screw does not go in easily, back the screw out and try a slightly different angle. Run the screws down into the hole until they just start making contact with the cable. Now tighten one screw a little and then the other back and forth about four times with the final tightening quite snug.

Understand the set screws are what is locking the cables together. If you don’t get them tight enough, the cables will pull out during use. Having said this, it is also possible to strip out the hex sockets of the screw using too much force with the supplied L-Hex wrench. As a better alternative, we offer the ‘Pro Wrench’ which is made from precision ground, super hard, drill blank steel and can even tighten and remove set screws with stripped out sockets.

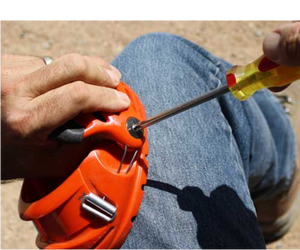
Cable Change on the Renegade Hoof Boot
21

Now insert the cable loop into the slot on the end of the heel captivator.

Changing the cable on the Renegade Hoof Boot Step 21
22

Be sure the cable loop is all the way back into the slot which clears the hole. Reinsert the big half of the pulley button from the inside.

Changing the cable on the Renegade Hoof Boot Step 22
23

Insert the small half of the pulley button from the outside.

Changing the cable on the Renegade Hoof Boot Step 23
24

Insert the Philips head screw and you are finished! If you have trouble with any of these steps, please contact us for further assistance.

Changing the cable on the Renegade Hoof Boot Step 24